
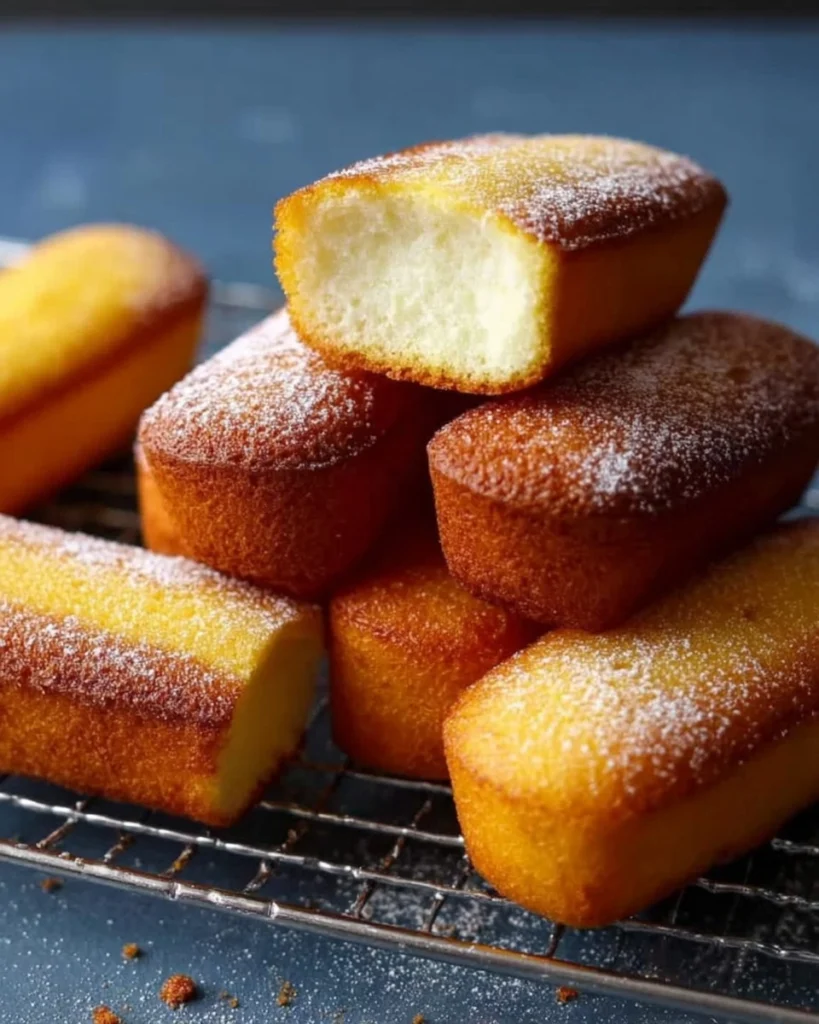
Homemade Twinkies have a special place in my heart. They are those delightful little treats that whisk you away to childhood—each bite bursting with nostalgia and happiness. They’re soft, airy sponge cakes filled with a luscious creamy filling that satisfies both cravings and memories. As I gathered the ingredients for this recipe, it felt like opening a treasure chest of sweet memories. Each Twinkie is reminiscent of school lunches, playdates, and the simplest joys that only a classic treat can evoke.
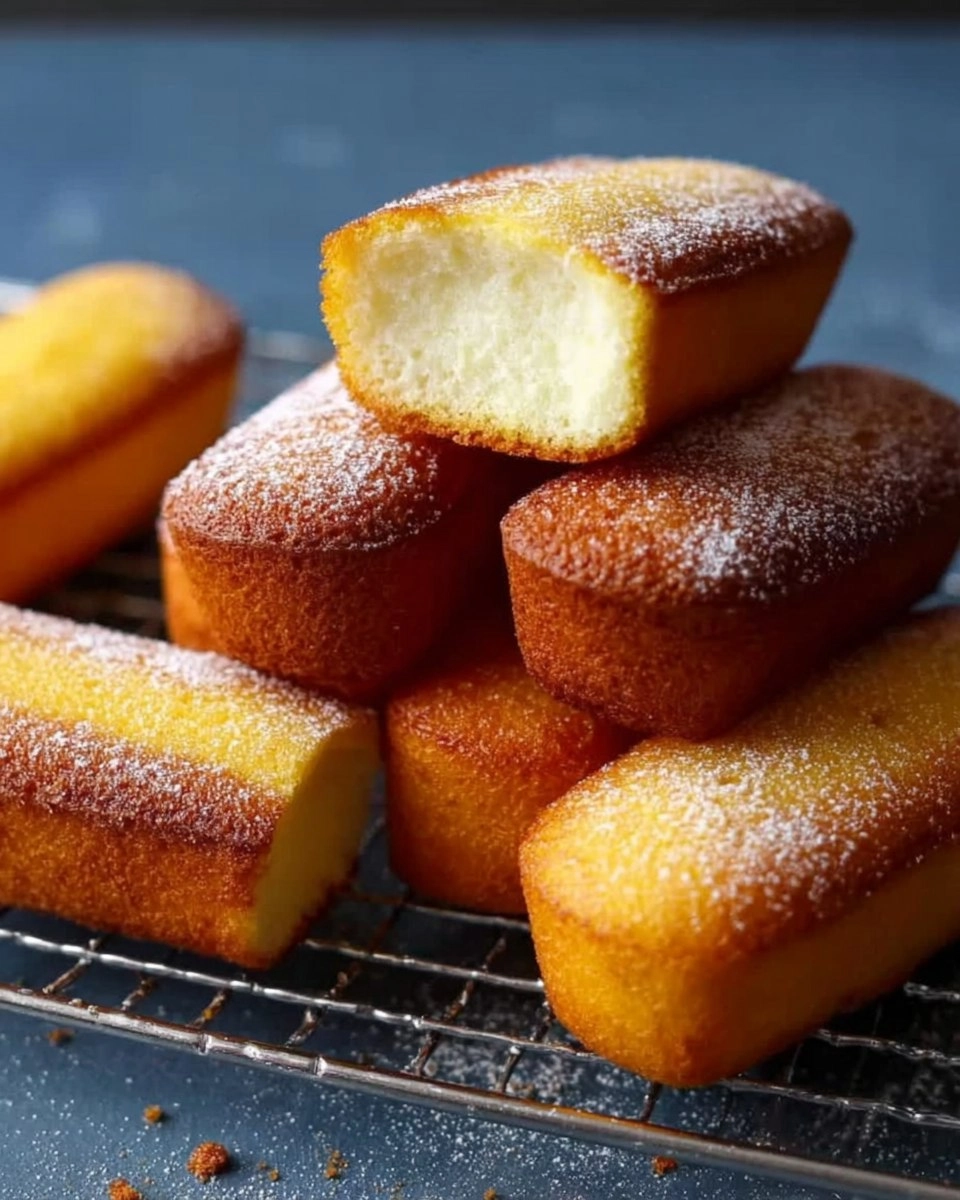
Recreating this cherished snack at home is easier than you think, and trust me, nothing compares to the homemade version. You’ll find that the taste is lightyears away from the store-bought counterparts, with a fresh flavor that sparks joy. Not only do they offer a fun kitchen project, but these homemade Twinkies are also wonderfully customizable, allowing you to add your own unique twist. I invite you to embark on this delicious journey of making homemade Twinkies—a sweet bite of nostalgia—with me today!
Why You’ll Love This Recipe
- Simple & Quick: You can whip these up in about 30 minutes, making them a perfect afternoon treat.
- Irresistible Flavor: The combination of soft sponge and creamy filling creates an unforgettable taste sensation.
- Eye-Catching Appeal: These creamy-filled cakes are as much fun to look at as they are to eat, making them perfect for parties.
- Flexible Serving: Enjoy them as a snack, dessert, or even a fun breakfast treat.
- Diet-Friendly Options: You can explore gluten-free flour or sugar alternatives to cater to different dietary needs.
Ingredients You’ll Need
- 1 cup all-purpose flour: This forms the base of your cake. You can substitute with a gluten-free blend if needed.
- 1 teaspoon baking powder: This is essential for achieving that light and airy texture.
- 1/4 teaspoon salt: A pinch of salt enhances the overall flavor of the cake, balancing out the sweetness.
- 4 large eggs: Eggs create structure and moisture; using room temperature eggs helps them whip up better.
- 3/4 cup granulated sugar: This sweetens the cake and contributes to its soft crumb. You could use a sugar substitute if desired.
- 1/4 cup milk: Whole milk adds richness, but you can also use almond milk for a dairy-free option.
- 2 tablespoons unsalted butter: Butter adds flavor and moisture; opt for unsalted for better control of sweetness.
- 1 teaspoon vanilla extract: Pure vanilla gives the cake its delicious fragrance and taste.
- 1/2 cup unsalted butter, softened (for filling): Soften this for a creamy filling that blends smoothly.
- 1 cup powdered sugar: This sweetens and thickens the filling, creating a delicious contrast to the cake.
- 1 cup marshmallow cream: The magic ingredient that gives the filling its irresistibly fluffy texture.
- 1 teaspoon vanilla extract (for filling): Enhances the overall flavor profile, ensuring the filling is just as delightful as the cake.
How to Make Twinkies: A Sweet Bite of Nostalgia
- Preheat the Oven: Begin by preheating your oven to 350°F (175°C). Grease a Twinkie pan, or use a small loaf pan if necessary. Both work well, and the shapes have their own charm.
- Whisk Dry Ingredients: In a bowl, whisk together 1 cup of all-purpose flour, 1 teaspoon of baking powder, and 1/4 teaspoon of salt. This step is crucial for the airy sponge texture you want.
- Beat Eggs and Sugar: In another bowl, beat 4 large eggs and 3/4 cup granulated sugar until pale and fluffy. This is where you create a base for lightness—incorporating air here is key.
- Add Milk and Butter: Gently heat 1/4 cup of milk and 2 tablespoons of unsalted butter until melted. Slowly pour this into the egg mixture along with 1 teaspoon of vanilla extract, stirring to combine.
- Combine Mixtures: Carefully fold the dry ingredients into the wet mixture. Be gentle—overmixing can lead to dense Twinkies, which we don’t want! Your goal is a tender batter.
- Bake the Cakes: Pour the batter into your prepared pan and bake for about 12-15 minutes, or until lightly golden. They should spring back when touched. Let them cool completely before removing them from the pan.
- Prepare the Filling: While the cakes cool, make the filling. Beat 1/2 cup softened unsalted butter until smooth, then mix in 1 cup of powdered sugar, 1 cup of marshmallow cream, and 1 teaspoon of vanilla extract. The filling should be light, creamy, and perfectly sweet.
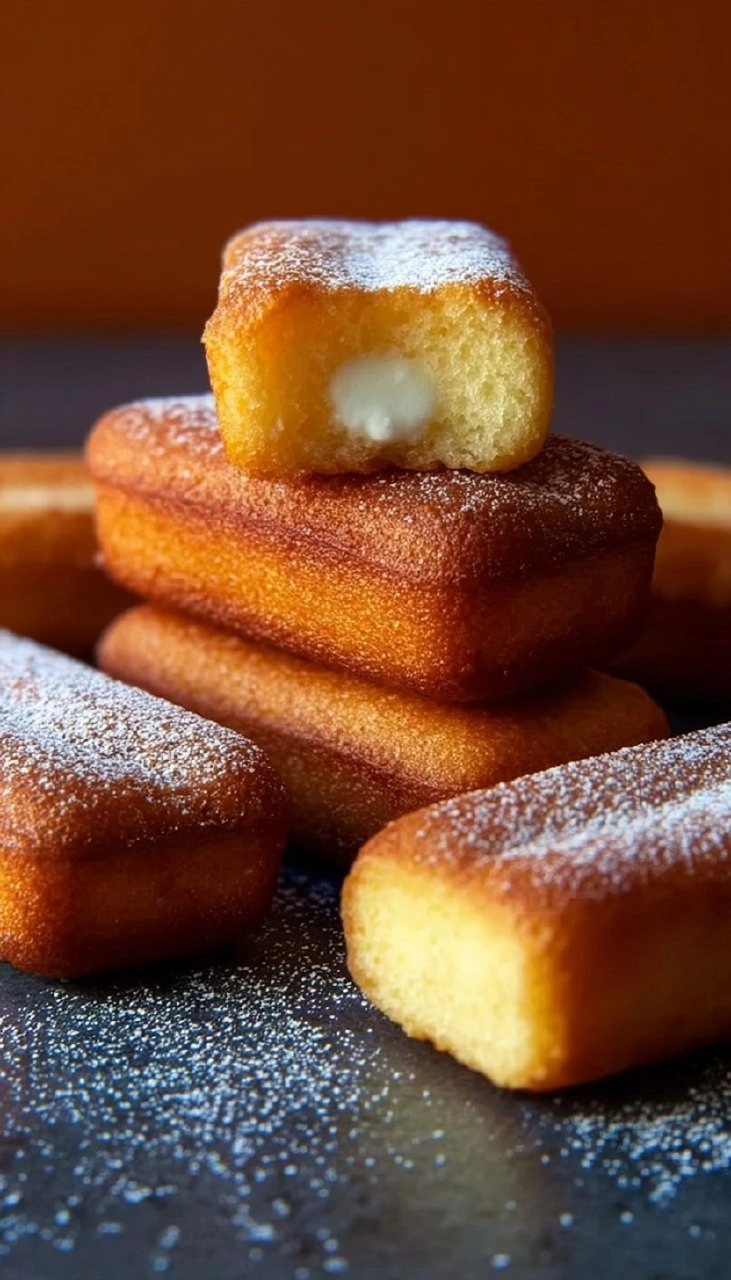
- Fill the Twinkies: Once the cakes are cool, use a piping bag or a knife to fill each with the creamy marshmallow mixture. This step is filled with nostalgia, a reminder of recreating childhood treasures.
Storing & Reheating
Store your homemade Twinkies at room temperature in an airtight container for up to 3 days. For longer storage, refrigerate them in a container for up to a week. You can freeze these delightful treats for up to 3 months; just make sure they are well-wrapped to prevent freezer burn. When you’re ready to enjoy them again, simply thaw at room temperature. You may notice a slight change in texture, but a quick 10-15 second zap in the microwave can refresh them to their original glory!
Chef’s Helpful Tips
- Be cautious with mixing; overmixing the batter can compromise the light texture.
- Ensure your eggs are at room temperature for better whipping.
- Keep your butter softened for filling preparation; cold butter won’t mix smoothly.
- When filling, if using a knife, create a small hole at one end to help distribute the filling.
- Don’t skip the cooling step—warm cakes can lead to a messy filling situation!
Though these homemade treats may seem sophisticated, they are filled with nostalgia and are actually quite simple to make. Each cake brings a burst of childhood joy and sweetness. Let yourself be creative with flavors—maybe a hint of lemon zest or a touch of chocolate in the filling could take these classic Twinkies to another level. As you bite into your delicious homemade Twinkie, let the flavor remind you of those carefree days. Enjoy every moment of baking and indulging in your very own sweet creation!
Recipe FAQs
How can I make these Twinkies gluten-free?
To make gluten-free Twinkies, substitute the all-purpose flour with a 1:1 gluten-free flour blend. Make sure to check if the blend contains xanthan gum, as it helps mimic the texture of gluten.
Can I use a different filling?
Absolutely! You can get creative with the filling. Consider using chocolate ganache, flavored cream cheese frosting, or even fruit preserves. Just ensure it maintains a similar texture to keep the Twinkie experience.
What can I do if my Twinkies are too dense?
If your Twinkies turn out dense, it may be that the batter was overmixed or the oven temperature was too low. Make sure to mix gently and check the oven temperature with a thermometer for the best results next time.
How should I store my homemade Twinkies?
Store your homemade Twinkies in an airtight container at room temperature for up to 3 days or refrigerate for up to a week. They can also be frozen for up to 3 months; just wrap them well to protect against freezer burn.
Print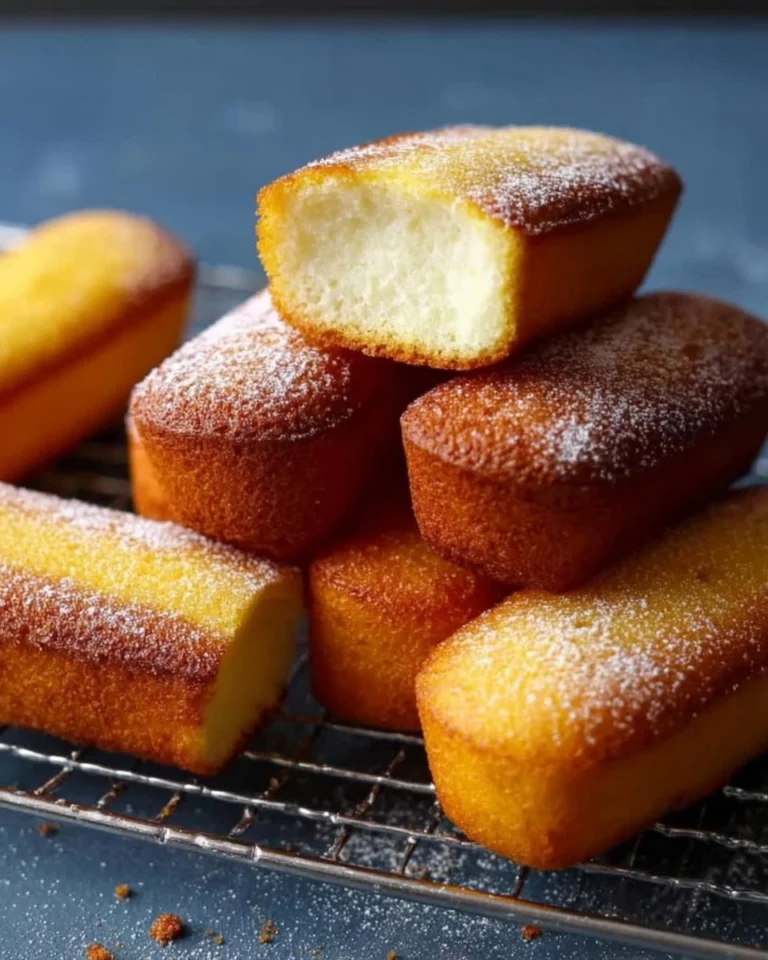
Twinkies: A Sweet Bite of Nostalgia
These homemade Twinkies bring back cherished memories with their light, airy sponge and sweet marshmallow filling. A simple treat that satisfies cravings and delights the senses, perfect for dessert lovers looking for a nostalgic taste.
- Total Time: 0 hours
- Yield: 10 1x
Ingredients
- 1 cup all-purpose flour
- 1 teaspoon baking powder
- 1/4 teaspoon salt
- 4 large eggs
- 3/4 cup granulated sugar
- 1/4 cup milk
- 2 tablespoons unsalted butter
- 1 teaspoon vanilla extract
- 1/2 cup unsalted butter, softened
- 1 cup powdered sugar
- 1 cup marshmallow cream
- 1 teaspoon vanilla extract
Instructions
- Preheat your oven to 350°F (175°C) and grease a Twinkie pan or small loaf pan.
- Whisk together flour, baking powder, and salt in a bowl.
- In another bowl, beat eggs and sugar until pale and fluffy. Heat milk and butter together until melted and add to the egg mixture with vanilla extract.
- Gently fold in the dry ingredients, taking care not to overmix.
- Pour batter into the prepared pan and bake for 12–15 minutes until lightly golden. Allow to cool completely before removing from the pan.
- Prepare the filling by beating the butter until smooth, then mixing in powdered sugar, marshmallow cream, and vanilla until creamy.
- Once cooled, use a piping bag or small knife to fill each cake with the cream.
Last Step:
Please leave a rating and comment letting us know how you liked this recipe! This helps our business to thrive and continue providing free, high-quality recipes for you.Notes
Using a Twinkie pan gives the characteristic shape, but a small loaf pan works just as well.
Allowing the cakes to cool completely is crucial for easy filling.
You can add a pinch of salt to the filling for contrast.
- Prep Time: N/A
- Cook Time: 12–15 minutes
- Category: Dessert
- Method: Baking
- Cuisine: American
Nutrition
- Serving Size: 1 Twinkie
- Calories: 220
- Sugar: 15g
- Sodium: 180mg
- Fat: 10g
- Saturated Fat: 6g
- Unsaturated Fat: 3g
- Trans Fat: 0g
- Carbohydrates: 30g
- Fiber: 0g
- Protein: 2g
- Cholesterol: 50mg