
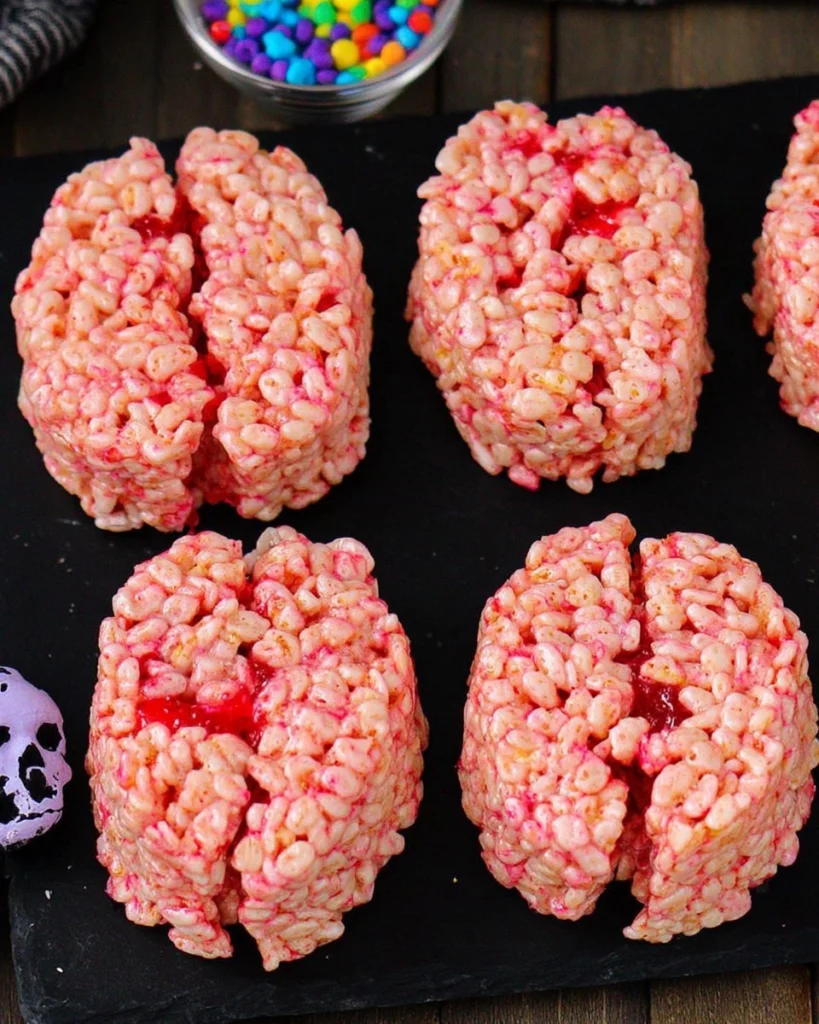
Halloween is just around the corner, and what better way to embrace the spooky spirit than with some delightfully creepy treats? These Brain Rice Krispie Treats are the perfect combination of nostalgia and festive fun. Soft and chewy with just the right amount of gooeyness from the marshmallows, these treats take a classic recipe and give it a ghoulish twist. Whether you’re planning a Halloween party or simply want to enjoy a sweet snack during a frightful movie night, these treats are sure to impress!
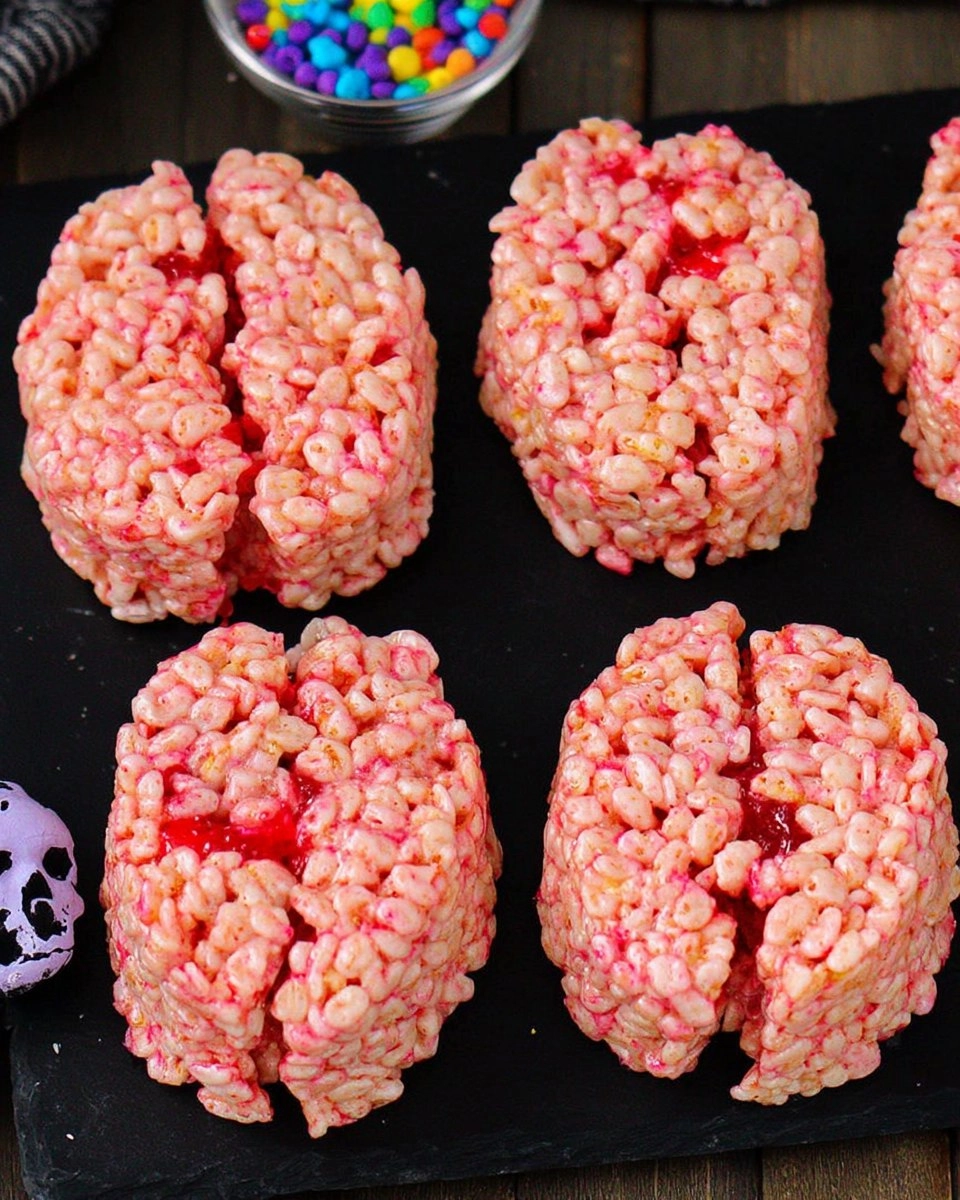
I remember the first time I made these while preparing for a Halloween gathering. The kids’ faces lit up as I presented them, and honestly, I couldn’t help but chuckle at their delighted reactions. If you’re looking for a no-bake dessert that appeals to both kids and adults alike, you’ve found it here! Easy to whip up and even easier to devour, these Brain Rice Krispie Treats will make your Halloween celebrations extra special.
Why You’ll Love This Recipe
- Simple & Quick: With just 15 minutes of prep time, these treats come together swiftly, allowing you to spend more time enjoying the festivities.
- Irresistible Flavor: The combination of buttery marshmallows and crispy rice cereal creates a chewy, gooey texture that’s downright addictive.
- Eye-Catching Appeal: These treats are not only delicious but look impressively spooky, making them a fun addition to any Halloween spread.
- Flexible Serving: Perfect for parties, school events, or just a fun family snack—everyone will be clamoring for a bite!
- Diet-Friendly Options: Adapt these treats for gluten-free friends by ensuring your rice cereal is certified gluten-free.
Ingredients You’ll Need
- 5 cups rice krispies cereal: This is the star of the show, providing that classic crunch and texture. You can use any generic brand if you prefer but ensure it’s crisp for best results.
- 10 ounce bag mini marshmallows: These create the gooey binding agent that makes these treats chewy and delightful. Avoid using larger marshmallows as they don’t melt as seamlessly.
- 3 tbsp butter (salted preferred): Adds richness and flavor. Salted butter works best, but you can use unsalted if that’s what you have.
- Red or pink food coloring: This gives your treats that spooky, brain-like color. The exact shade is up to you—go for a bold red or a soft pink!
- Red gel decorating icing: Perfect for detailing your “brains” and adding a creepy blood effect. This icing is thicker and holds its shape better than standard icing.
How to Make Brain Rice Krispie Treats: No Bake Halloween Zombie Fun
- Prepare the Baking Sheet: Start by lining a baking sheet with parchment paper. If you don’t have parchment, a quick spray with nonstick spray works just as well.
- Melt the Butter: In a large microwave-safe bowl, add 3 tablespoons of butter. Microwave it on high for about 30 seconds until melted. This should be just enough time, but keep an eye to avoid splashes.
- Combine with Marshmallows: Stir in the 10-ounce bag of mini marshmallows to coat them in butter. Return the bowl to the microwave, heating in 30-second bursts. Stir each time until completely melted and smooth—this usually takes about 1 to 1.5 minutes total.
- Add Food Coloring: Drop in your chosen red or pink food coloring and mix until there are no streaks and the color looks even. I tend to use about five drops of McCormick neon pink, but you can adjust according to your preference.
- Fold in Rice Krispies: Gently fold in the 5 cups of rice krispies cereal until they are thoroughly coated in the marshmallow mixture. Take your time; you don’t want to crush them!
- Shape the Brains: Using a ⅓ cup measuring cup sprayed with nonstick spray, scoop a portion of the mixture onto the prepared baking sheet. Use your hands, also sprayed, to mold it into an oblong shape. It’s okay if they’re not perfectly uniform—character is key!
- Create Brain Indents: Take the blunt side of a butter knife, again sprayed, and press it lengthwise into the top of each mound to form the indents characteristic of a brain. Don’t worry if you need to reshape them a bit; just gently press the sides together if needed.
- Cool and Decorate: Allow the brain-shaped treats to cool and firm up for about 20-30 minutes. Once set, use red gel icing to create drips of “blood” on your treats for that ultimate Halloween vibe!
Storing & Reheating
To keep your Brain Rice Krispie Treats fresh, store them at room temperature in an airtight container for up to a week. If you need them to last a bit longer, refrigerate them for another week, but note that the texture may become a bit firmer. For longer storage, you can freeze these treats for up to three months. Just wrap them tightly in plastic wrap and place them in a freezer-safe bag. When you’re ready, let them thaw at room temperature for a few hours. They’ll still taste delicious, and a quick spritz of nonstick spray can help refresh their texture for a chewy bite!
Chef’s Helpful Tips
- Don’t Rush Melting: Ensure the butter and marshmallows are fully melted together without any lumps. This consistency is key to coating the cereal evenly.
- Use Nonstick Spray Generously: Spray not just the measuring cup but also your hands and the knife. This will prevent any sticky messes while shaping!
- Chill for Firmness: If you find the mixture too soft to hold its shape, pop it in the fridge for a few minutes before shaping.
- Get Creative with Colors: Feel free to experiment with other colors for a unique Halloween twist. Greens or purples can be great for themed parties!
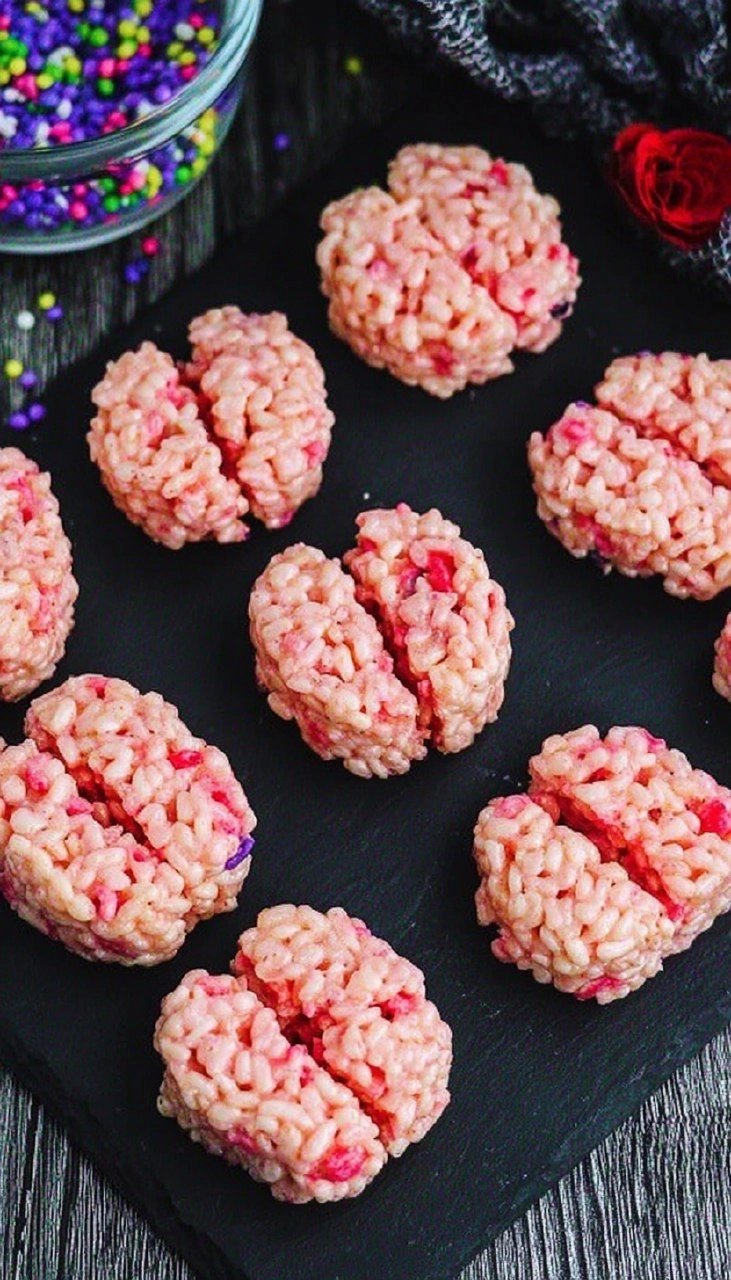
These Brain Rice Krispie Treats are not just a festive way to celebrate Halloween; they’re a perfect blend of creativity, nostalgia, and fun. Whether you’re making them for your little ghouls or as a treat for yourself while enjoying a scary movie, they capture the essence of Halloween in the best way possible. I encourage you to try out this recipe, get your hands a little sticky, and have some fun crafting these spooky snacks!
Recipe FAQs
Can I make these ahead of time?
Absolutely! You can prepare these Brain Rice Krispie Treats a day in advance. Just follow the instructions, store them in an airtight container, and they’ll be ready for your Halloween festivities!
Can I use regular marshmallows instead of mini?
Yes, you can use regular marshmallows. Just remember to cut them into smaller pieces for easier melting, and you may need to adjust the melting time slightly.
How do I make these gluten-free?
To make these treats gluten-free, ensure you’re using certified gluten-free rice krispies cereal. The rest of the ingredients are naturally gluten-free, so you’re good to go!
What if I want a different flavor?
If you’re looking to change up the flavor, consider adding a splash of vanilla or almond extract after melting the marshmallows. It adds an extra layer of deliciousness while still keeping that nostalgic flavor!
Print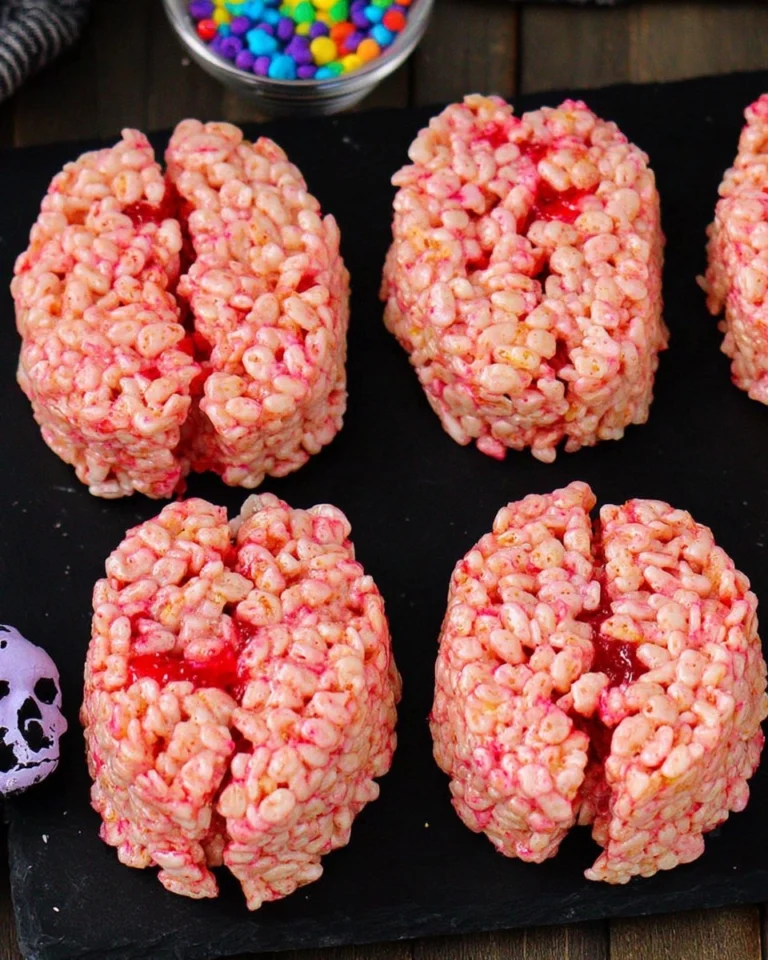
Brain Rice Krispie Treats: No Bake Halloween Zombie Fun
These Brain Rice Krispie Treats stand out with their delightful flavor and easy preparation. Made with rice cereal and marshmallows, they’re perfect for Halloween festivities and a delightful treat for all!
- Total Time: 1 hour 2 minutes
- Yield: 16 servings 1x
Ingredients
- 5 cups rice krispies cereal (or generic equivalent)
- 10 ounce bag mini marshmallows
- 3 tbsp butter (salted preferred)
- red or pink food coloring
- red gel decorating icing
Instructions
- Line a baking sheet with parchment paper or use nonstick spray.
- In a large microwave-safe bowl, melt the butter on high for about 30 seconds. Add the mini marshmallows and stir to coat in butter. Continue microwaving in 30-second intervals until melted and smooth, a total of about 1 to 1.5 minutes.
- Mix in the food coloring until fully combined with no streaks. Fold in the Rice Krispies until evenly coated.
- Using a ⅓ cup measuring cup sprayed with nonstick spray, scoop the mixture and drop it onto the lined baking sheet. Shape it into an oval form using your hands.
- Press the blunt side of a butter knife into the top to create a brain shape. Adjust the sides as needed.
- Once all the shapes are formed, let them cool for 20-30 minutes. Decorate with red gel icing to mimic 'blood' and serve.
Last Step:
Please leave a rating and comment letting us know how you liked this recipe! This helps our business to thrive and continue providing free, high-quality recipes for you.Notes
Make sure to spray utensils with nonstick spray to prevent sticking while shaping.
For vibrant colors, adjust the amount of food coloring based on your preference.
- Prep Time: 15 minutes
- Cook Time: 47 minutes
- Category: Dessert
- Method: No Bake
- Cuisine: Halloween
Nutrition
- Serving Size: 1 treat
- Calories: 150
- Sugar: 10g
- Sodium: 50mg
- Fat: 4g
- Saturated Fat: 2g
- Unsaturated Fat: 1g
- Trans Fat: 0g
- Carbohydrates: 27g
- Fiber: 0g
- Protein: 1g
- Cholesterol: 10mg