
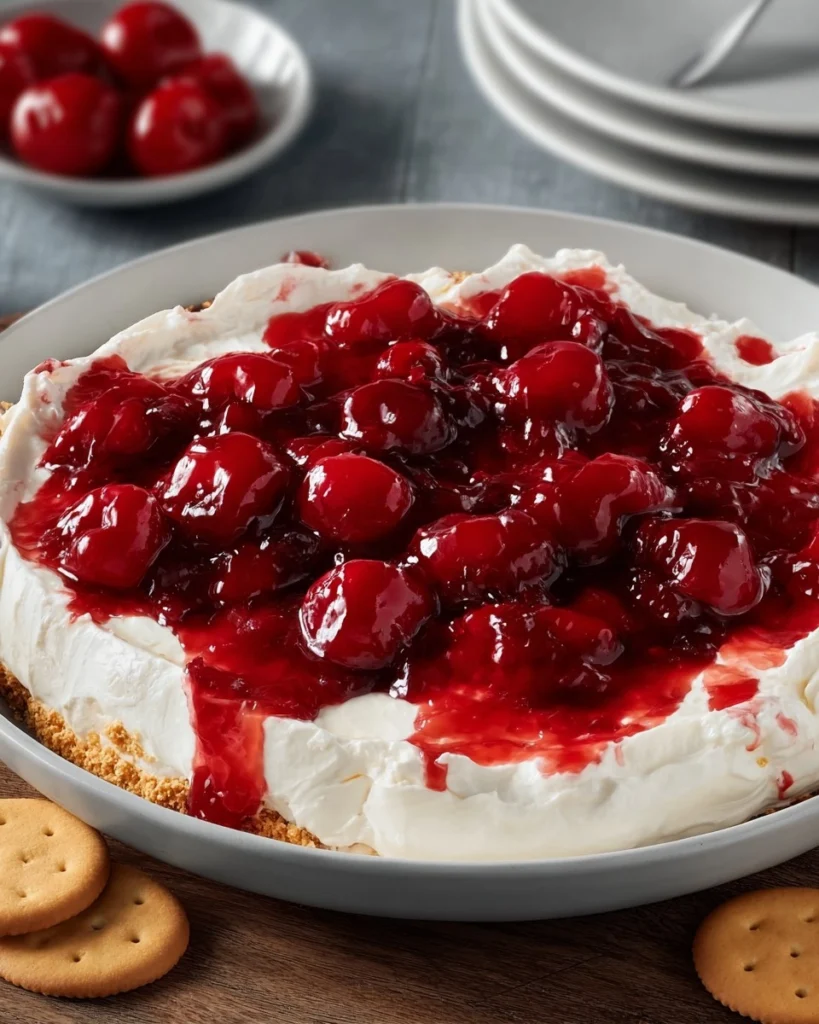
Cherry Cheesecake Dip is a delightful twist on the classic dessert that captivates your taste buds while remaining easy to prepare. This creamy, luxurious dip combines the rich flavors of cream cheese and cherries, making it a fantastic option for parties and gatherings. It’s no-bake, which means you can whip it up in a flash, and it’s always a crowd-pleaser. The combination of soft cream cheese, sweet cherry pie filling, and fluffy whipped topping creates a luscious texture that pairs perfectly with your favorite dippers.
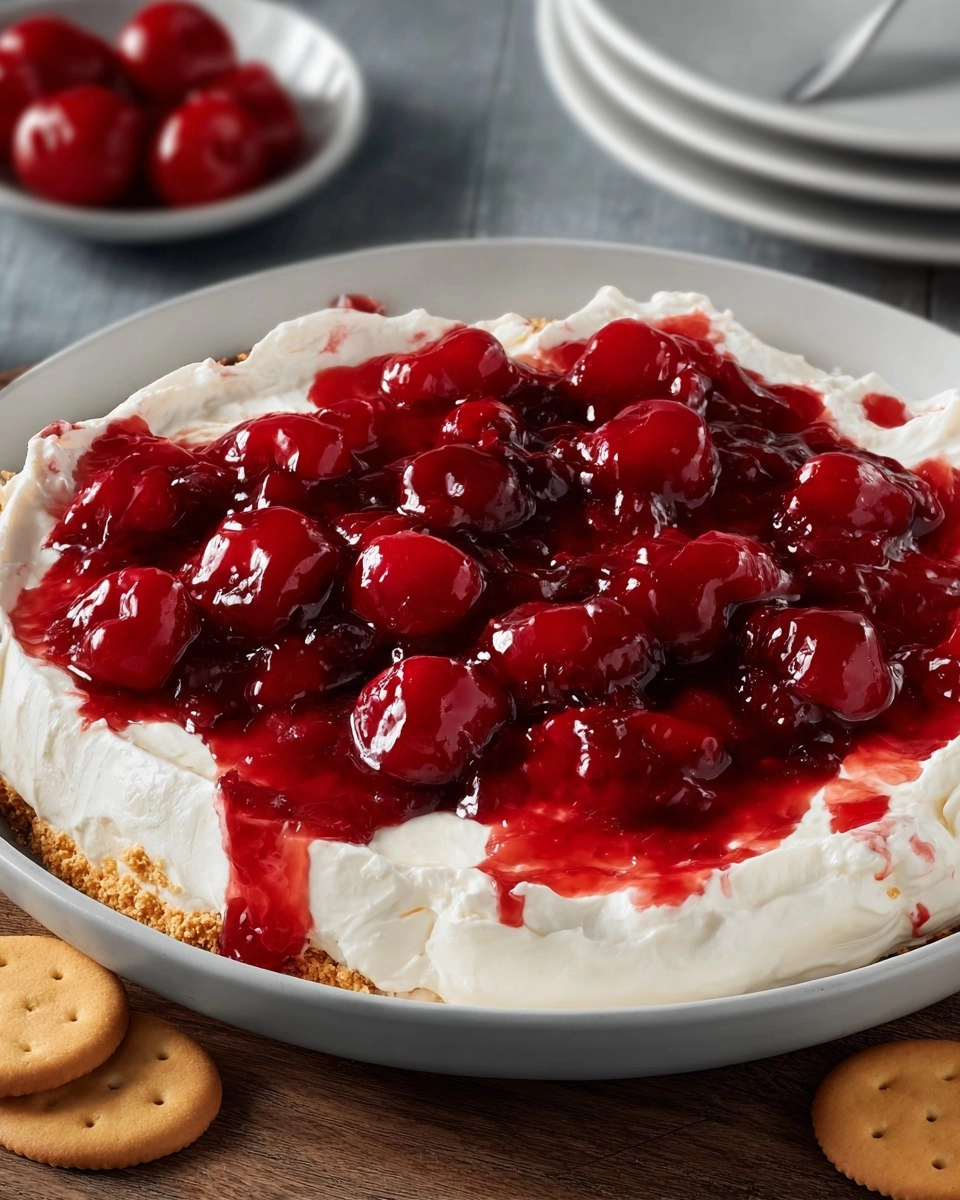
When I first made this dip for a friend’s birthday party, I knew I had stumbled upon something special. It was a hit! Everyone gathered around the dessert table, drawn by the vibrant red cherry topping. “What is this?” they asked, eager to scoop a bite with their cookies and fruits. Serving this Cherry Cheesecake Dip is not just about the taste; it’s about creating joyful memories with every creamy bite. So, let’s dive into this simple recipe that brings smiles and satisfaction to any occasion!
Why You’ll Love This Recipe
- Simple & Quick: Just 15 minutes of prep time and no baking required, making this a breeze to whip up.
- Irresistible Flavor: The creamy, sweet cream cheese pairs beautifully with the tartness of the cherry pie filling.
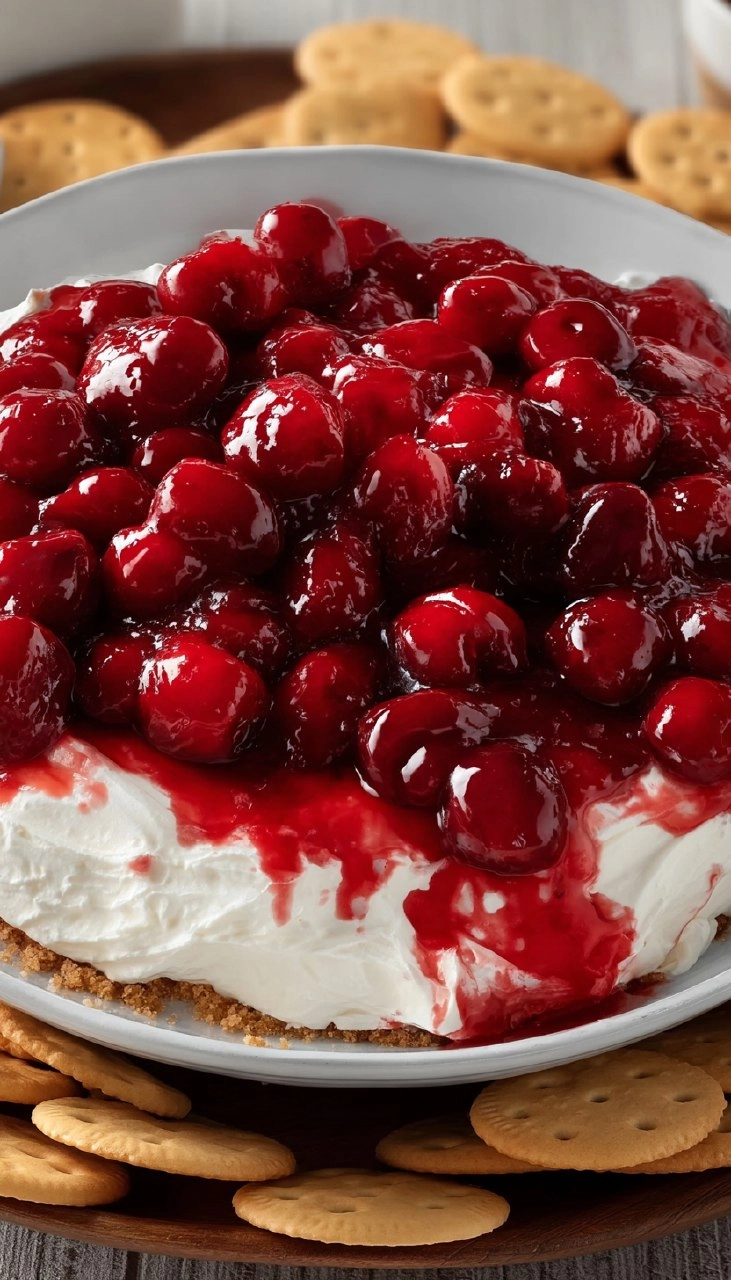
- Eye-Catching Appeal: The vibrant red cherries on top make it a visually appealing treat for any gathering.
- Flexible Serving: Perfect for parties, snack time, or even as a sweet breakfast option.
- Diet-Friendly Options: Easily adaptable for gluten-free and lower-sugar diets.
Ingredients You’ll Need
- 16 ounces cream cheese, softened: This is the base of your dip, giving it that creamy texture. For a lighter version, you can use low-fat cream cheese or Neufchâtel cheese.
- 1 cup powdered sugar: This sweetens the dip and gives it a smooth consistency. Granulated sugar could be used, but for the smoothest texture, powdered is best.
- 1 teaspoon vanilla extract: Adds a warm, sweet note that enhances the flavor of the dip. Always go for pure vanilla extract if possible; it makes a noticeable difference.
- 1 cup whipped topping or homemade whipped cream: Whipped topping keeps things easy and stable, while homemade whipped cream offers a fresher taste. For homemade, simply whip heavy cream with a bit of sugar until stiff peaks form.
- 1 can cherry pie filling (21 ounces): This adds a sweet and tart berry flavor that contrasts beautifully with the creaminess of the dip. You can also use fresh cherries if in season, just pit and chop them.
- Optional graham cracker crumbs: Sprinkle them for added texture and that classic cheesecake crust flavor.
- Optional fresh cherries: For garnish, they add an extra pop of color and flavor.
- Optional white chocolate shavings: A luxurious touch for special occasions, enhancing both taste and visual appeal.
How to Make Cherry Cheesecake Dip
- Soften the Cream Cheese: Begin by letting 16 ounces of cream cheese sit at room temperature for about 30 minutes. This step is crucial for a smooth dip.
- Beat Until Smooth: In a large bowl, use an electric mixer to beat the softened cream cheese until it reaches a smooth and fluffy consistency.
- Add Sweetness and Flavor: Gradually add in 1 cup of powdered sugar along with 1 teaspoon of vanilla extract. Beat again until the mixture is creamy and well-combined.
- Fold in Whipped Topping: Gently fold in 1 cup of whipped topping or homemade whipped cream until the mixture is light and airy.
- Prepare for Serving: Spread the creamy mixture into a serving bowl or a shallow dish, making sure to create a nice surface for the cherry topping.
- Top with Cherry Filling: Spoon 21 ounces of cherry pie filling evenly over the top of the cream cheese mixture. It should look gorgeous!
- Chill Before Serving: It’s best to refrigerate the dip for at least 30 minutes. This allows the flavors to meld and the dip to firm up a bit.
- Add Finishing Touches: If desired, sprinkle graham cracker crumbs on top right before serving for that extra crunch.
- Serve & Enjoy: Serve chilled with your choice of crackers, cookies, or fresh fruit for dipping.
Storing & Reheating
Cherry Cheesecake Dip stores beautifully in the refrigerator, covered tightly, for up to 3 days. If you need to store it longer, you can freeze the dip in an airtight container for up to 3 months. Just note that the texture may change slightly upon thawing. When ready to serve, simply thaw in the fridge overnight. If the dip looks a bit too thick, give it a gentle stir to refresh the consistency before serving.
Chef’s Helpful Tips
- Ensure your cream cheese is thoroughly softened. This will help achieve that creamy texture without lumps.
- If you prefer a richer taste, you can fold in a bit of sour cream or Greek yogurt for added tanginess.
- Be mindful not to overmix once you add the whipped topping; fold gently to maintain that light texture.
- For a fun twist, consider mixing in some crushed pineapple or chopped nuts to the cream cheese layer for added flavor and crunch.
- This dip can be easily made ahead of time, allowing you more time to enjoy your guests.
Cherry Cheesecake Dip is not just any dessert; it’s a joyful treat that invites camaraderie and conversation. The simplicity of this no-bake recipe makes it an excellent choice for any gathering, whether it’s a casual snack at home or a festive celebration. Feel free to experiment with the toppings and presentations! You might discover a new favorite way to enjoy this delightful dip. So gather your ingredients, chill that cream cheese and get ready to impress your friends and family. Enjoy every luscious bite!
Recipe FAQs
Can I use fresh cherries instead of pie filling?
Absolutely! Fresh cherries can provide a delightful, natural sweetness. Just make sure to pit and chop them before adding them on top of the dip. If you want to enhance their flavor, toss them with a little sugar and let them sit for a few minutes to draw out their juices.
How can I make this dip dairy-free?
To make Cherry Cheesecake Dip dairy-free, simply substitute the cream cheese with dairy-free cream cheese and use coconut whipped cream instead of whipped topping. Make sure to check that the cherry pie filling is also dairy-free, as some brands may include milk ingredients.
How long can I keep leftovers?
If stored properly in the refrigerator in an airtight container, Cherry Cheesecake Dip can last up to 3 days. After that, the dip may start to lose its freshness and creamy consistency.
What can I use as dippers?
The options are endless! Great dippers include graham crackers, vanilla wafers, pretzels, apple slices, and even mini cupcakes. The sweetness of the dip contrasts nicely with salty or tart dippers, providing a delightful flavor balance.
Print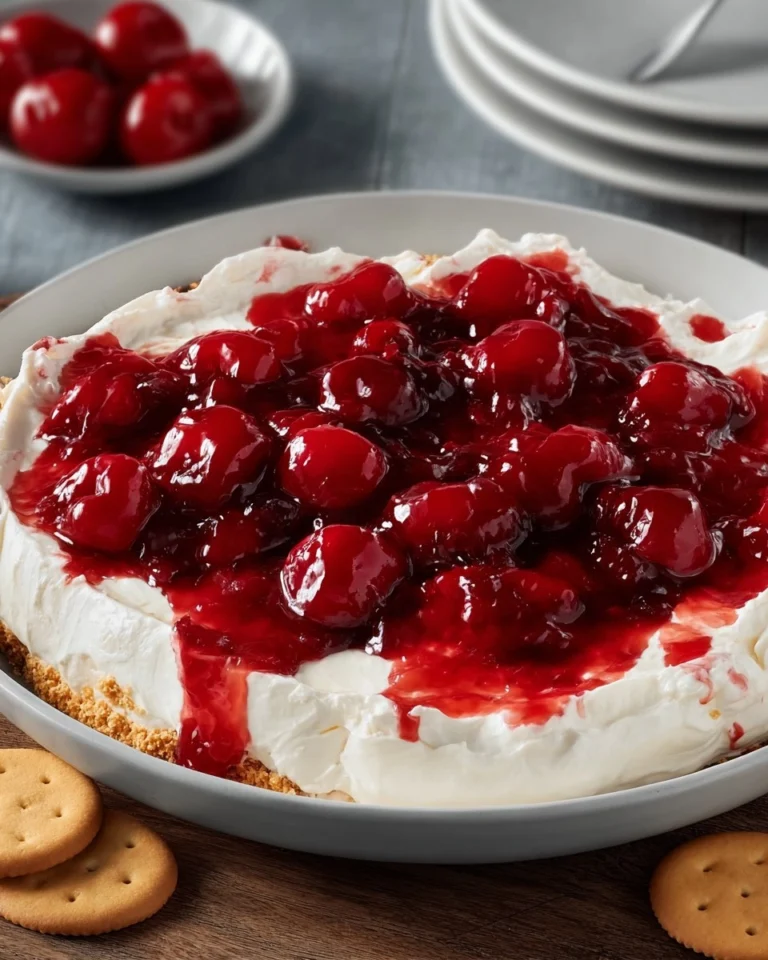
Cherry Cheesecake Dip
Experience the delightful Cherry Cheesecake Dip, a no-bake treat featuring a creamy blend of cream cheese, powdered sugar, and cherry pie filling. This simple preparation makes it ideal for parties and everyday enjoyment!
- Total Time: 30 minutes
- Yield: 10 servings 1x
Ingredients
- 16 ounces cream cheese, softened
- 1 cup powdered sugar
- 1 teaspoon vanilla extract
- 1 cup whipped topping or homemade whipped cream
- 1 can cherry pie filling (21 ounces)
- optional graham cracker crumbs
- optional fresh cherries
- optional white chocolate shavings
Instructions
- Let cream cheese soften at room temperature for 30 minutes.
- Beat cream cheese in a large bowl until smooth and fluffy.
- Add powdered sugar and vanilla extract, then beat until creamy.
- Gently fold in whipped topping until light and smooth.
- Spread mixture into a serving bowl or shallow dish.
- Spoon cherry pie filling evenly over the top.
- Refrigerate for at least 30 minutes before serving.
- Top with graham cracker crumbs if desired.
- Serve chilled with crackers, cookies, or fruit.
Last Step:
Please leave a rating and comment letting us know how you liked this recipe! This helps our business to thrive and continue providing free, high-quality recipes for you.Notes
Using homemade whipped cream can enhance the flavor.
For added texture, consider topping with fresh cherries or white chocolate shavings.
Graham cracker crumbs add a nice crunch, but are optional.
- Prep Time: 15 minutes
- Cook Time: 15 minutes
- Category: Dessert
- Method: No-Bake
- Cuisine: American
Nutrition
- Serving Size: 1 serving
- Calories: 250
- Sugar: 20g
- Sodium: 320mg
- Fat: 15g
- Saturated Fat: 9g
- Unsaturated Fat: 4g
- Trans Fat: 0g
- Carbohydrates: 28g
- Fiber: 0g
- Protein: 3g
- Cholesterol: 45mg