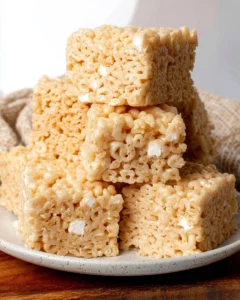

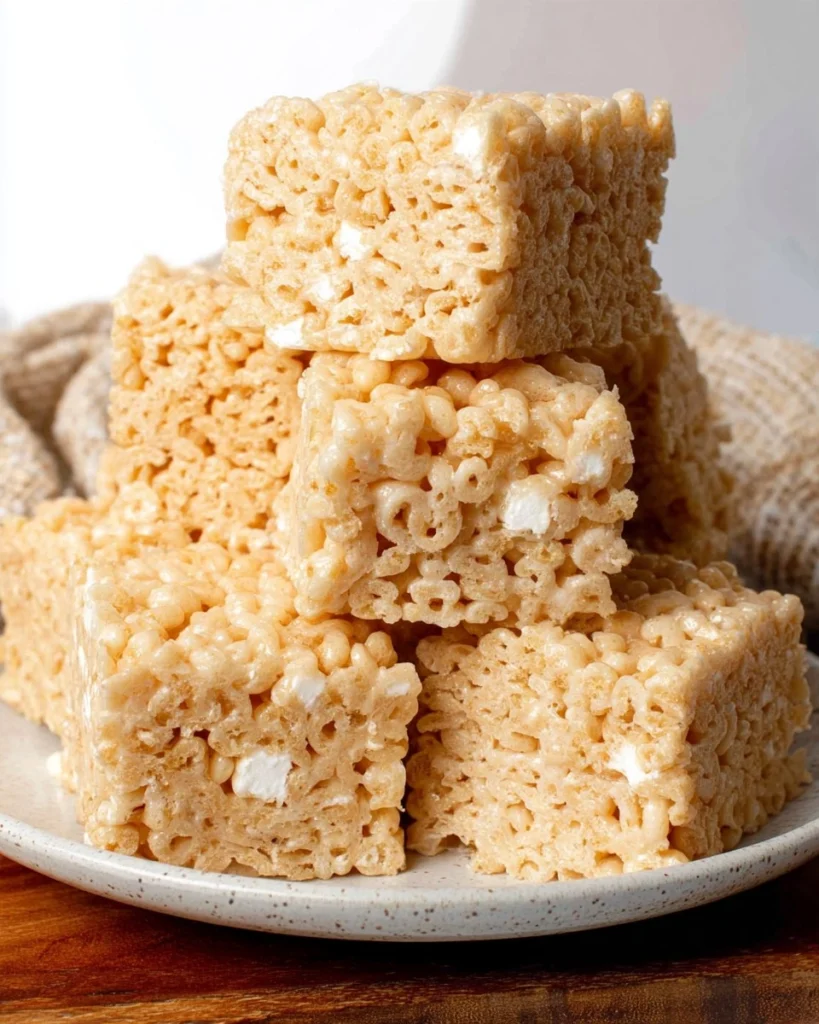
Rice Krispie Treats have a way of capturing the essence of childhood nostalgia with their gooey, crispy, and sweet goodness. These delightful snacks are a perfect blend of crunchy Rice Krispies and marshmallows that come together effortlessly to create something magical. And when you add the depth of flavor from browned butter into the mix, you elevate the classic recipe into a treat that you’ll crave time and time again. Each bite unveils sweet pockets of gooey marshmallow surrounded by that satisfying crunch. Truly, there’s nothing quite like the experience of making— and indulging in— homemade Rice Krispie Treats.
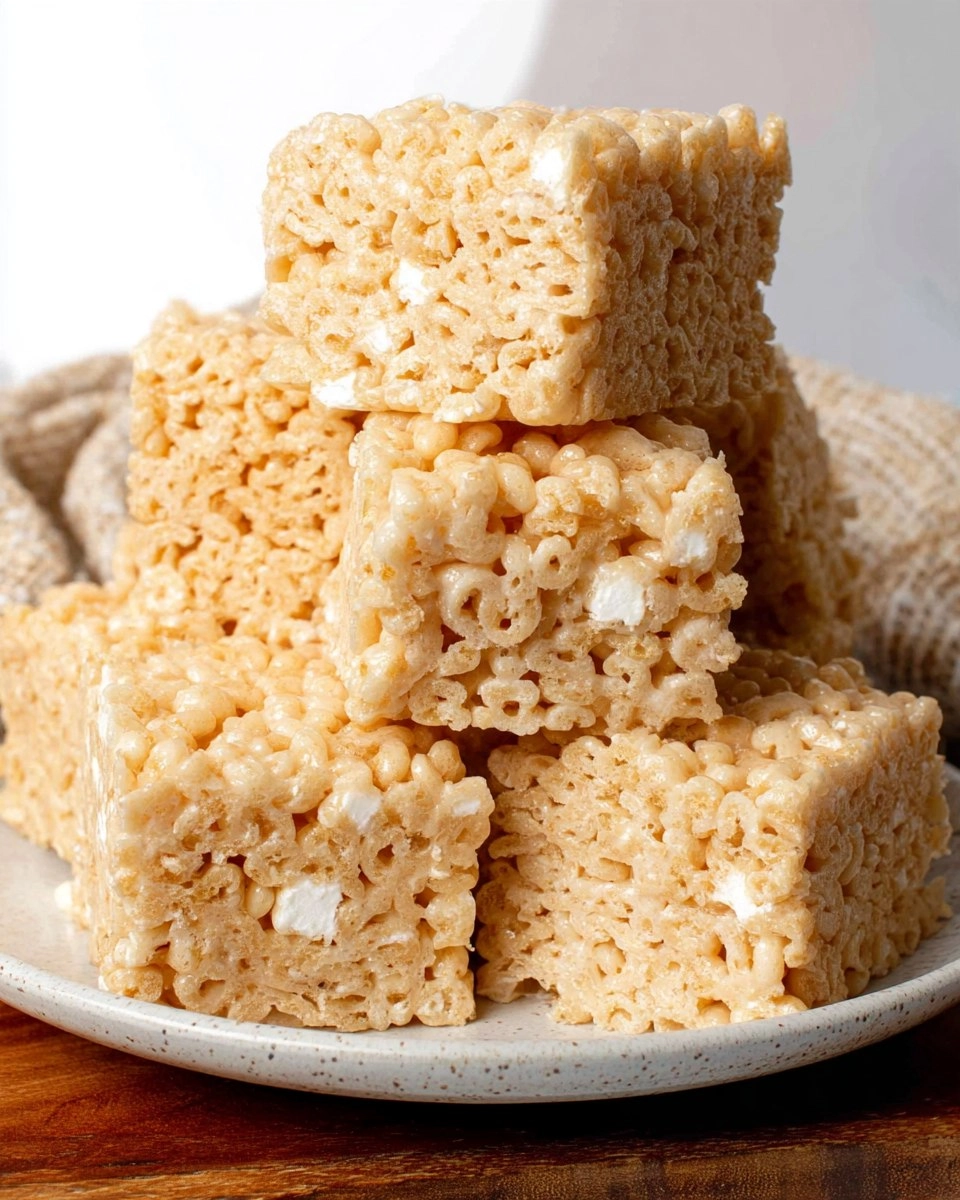
The beauty of Rice Krispie Treats is not just in their taste but also in their simplicity. Made with just a handful of ingredients, they come together in minutes, making them an ideal solution for when those snack cravings hit or when you need a last-minute dessert for a gathering. Plus, they’re so much better than store-bought versions, often laden with artificial flavors. So, gather your ingredients, roll up your sleeves, and prepare to make Rice Krispie Treats that are sure to impress!
Why You’ll Love This Recipe
- Simple & Quick: With only about 5 minutes of prep and 80 minutes of cooling, you’ll have a delicious treat in no time!
- Irresistible Flavor: The unique richness of browned butter combined with sweet marshmallows results in an unforgettable taste.
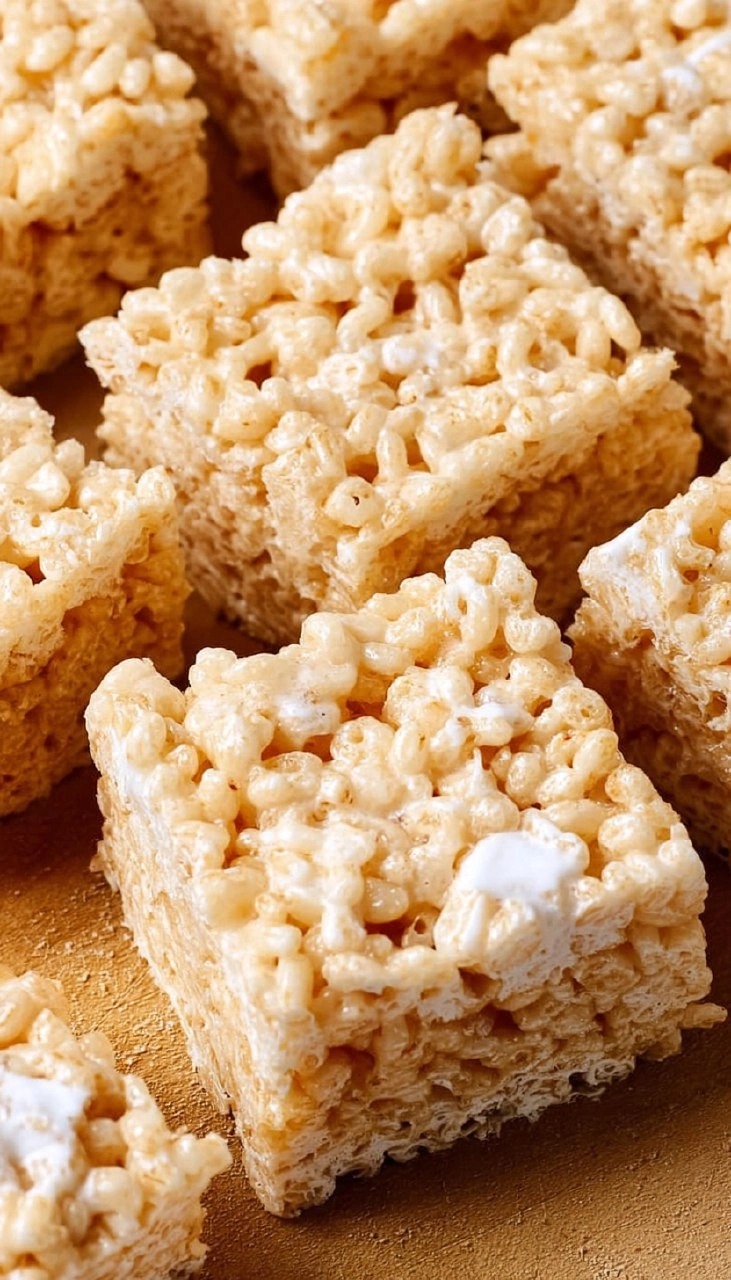
- Eye-Catching Appeal: Perfectly square-shaped and lightly glazed, these treats are irresistible — they’re both a treat for your taste buds and your eyes.
- Flexible Serving: Perfect for after-school snacks, birthday parties, or just a cozy night at home, they fit any occasion.
- Diet-Friendly Options: With simple substitutions, making these treats gluten-free or dairy-free is a breeze!
Ingredients You’ll Need
- 1 cup (2 sticks) unsalted butter: This is the foundation of richness. Ensure it’s unsalted for better flavor control.
- 3 10-ounce bags of mini marshmallows, divided: Fresh mini marshmallows melt beautifully. Using fresh ones is crucial to achieve that perfect gooey texture!
- 1 teaspoon kosher salt: A touch of salt enhances flavor, balancing the sweetness.
- 1 teaspoon vanilla extract: Always opt for pure vanilla extract for an aromatic and rich flavor.
- 12 cups Rice Krispies cereal: Make sure they’re fresh! They give that essential crunch which pairs so well with marshmallows.
How to Make Rice Krispie Treats
-
Prep the Baking Pan: Line a 9×13-inch baking pan with parchment paper, ensuring that there’s some overhang on the long sides. This will make it easier to remove your treats later. Lightly grease the parchment paper with cooking spray and set aside. For easy mixing, spray a silicone spatula with nonstick cooking spray.
-
Brown the Butter: Cut the unsalted butter into 4 pieces. In a large Dutch oven, melt the butter over medium heat. Once melted, reduce the heat to medium-low. Stir often until you see amber-brown bits forming at the bottom. Remove from heat and let it cool for about 30 seconds to 1 minute to finish browning. This step gives your Rice Krispie Treats a rich, nutty flavor that’s simply irreplaceable.
-
Melt the First Batch of Marshmallows: Whisk in the vanilla extract and kosher salt, then add TWO bags of mini marshmallows. Cook over low heat, stirring constantly to ensure nothing sticks, until the marshmallows are completely melted. Be sure to stay close—overcooking them could make your treats tough!
-
Add the Rice Krispies: Stir in the Rice Krispies cereal gently using your greased spatula, ensuring every piece gets coated in that delectable marshmallow mixture. Then, add the remaining bag of marshmallows and fold them in lightly. You want some marshmallows to remain semi-melted within the mixture for added gooeyness.
-
Transfer to Pan: Carefully transfer the mixture to your prepared pan. Using the buttery side of the reserved butter wrappers, press the mixture into an even layer, but try not to compact it too much. Over-compacting can lead to dense bars rather than the chewy treats you desire.
-
Cool and Cut: Allow the treats to cool at room temperature for about an hour until they are firm. Use the parchment overhang to lift them out of the pan, place them on a cutting board, and cut into squares or rectangles.
Storing & Reheating
Store your Rice Krispie Treats at room temperature in an airtight container, where they’ll keep fresh for about a week. If you need more time, place them in the refrigerator for up to 2 weeks. For longer storage, consider freezing them in an airtight container for up to three months. When you’re ready to enjoy them again, simply let them thaw at room temperature. The texture may change slightly, but a quick microwaving for about 10 seconds can refresh them, bringing back that delightful chewiness.
Chef’s Helpful Tips
- Avoid Overheating: Keep a close eye on your marshmallows while melting. If they get too hot, they might turn hard!
- Room Temperature Ingredients: Using butter at room temperature makes it easier to cream with the marshmallow mixture.
- Exact Measurements: Measure your Rice Krispies using standard measuring cups—this ensures you have the right texture.
- Customize Your Treats: Mix in your favorite additions like chocolate chips, nuts, or colorful sprinkles for a personalized touch.
- Sticky Situation: If your mixture gets too sticky, a light dusting of powdered sugar or a spoon of coconut oil on your hands can help.
Rice Krispie Treats are undoubtedly a classic treat that is both nostalgic and delicious. This recipe’s use of browned butter adds a unique flavor twist to an already beloved dish. Feel free to experiment with mix-ins, or just enjoy the simple, gooey joy of the original! Don’t forget to let your creative juices flow and enjoy the process—there’s no wrong way to enjoy these delightful treats.
Recipe FAQs
Can I make these Rice Krispie Treats gluten-free?
Absolutely! Simply choose gluten-free Rice Krispies, and you’re all set. This makes the treat suitable for those with gluten sensitivities while delivering the same delicious flavor!
Why is browning the butter important?
Browning the butter enhances its flavor by adding a nutty, rich taste that deepens the overall profile of the Rice Krispie Treats. It’s a simple step that makes a big difference in elevating the dish.
Can I use regular marshmallows instead of mini marshmallows?
Yes! While mini marshmallows melt easily, you can use regular-sized marshmallows—just cut them into smaller pieces to ensure they melt evenly with the butter.
How do I prevent my Rice Krispie Treats from getting too hard?
One key to keeping your Rice Krispie Treats soft and chewy is to avoid compacting them too much when pressing into the pan. Additionally, store them properly at room temperature in an airtight container to maintain their freshness.
Print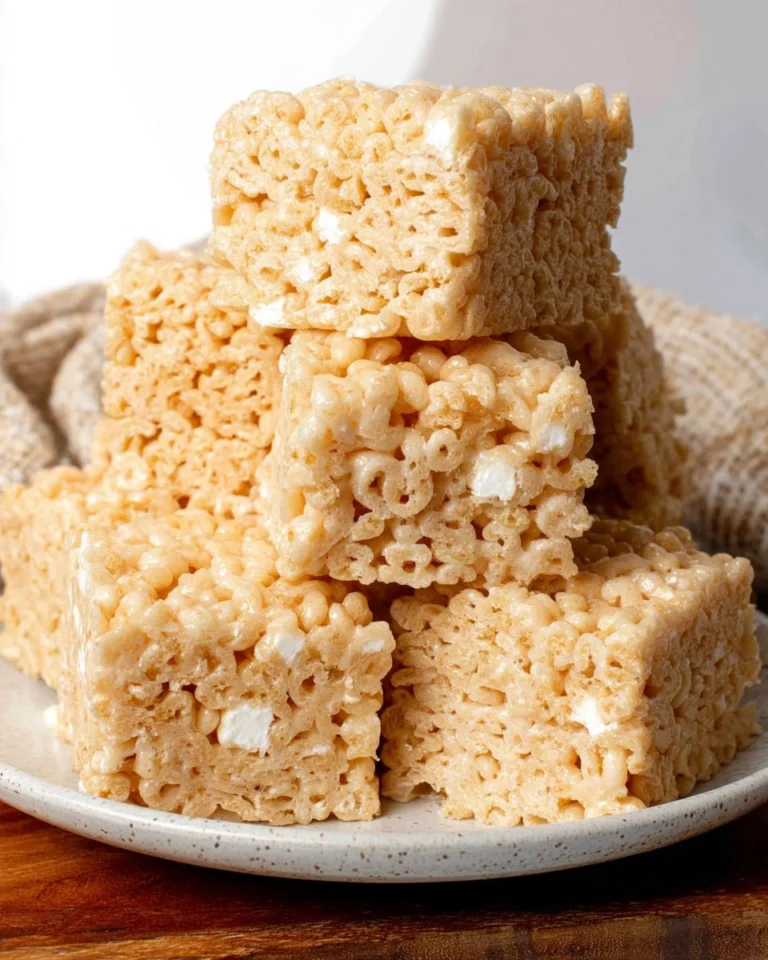
Rice Krispie Treats
Enjoy the classic flavor of Rice Krispie Treats with a twist of browned butter. This easy recipe combines fresh marshmallows and crispy cereal for a delightful treat that’s perfect for sharing or snacking anytime!
- Total Time: 1 hour 25 minutes
- Yield: 12 servings 1x
Ingredients
- 1 cup (2 sticks) unsalted butter
- 3 10-ounce bags of mini marshmallows, divided
- 1 teaspoon kosher salt
- 1 teaspoon vanilla extract
- 12 cups rice krispies cereal
Instructions
- Prepare a 9×13-inch baking pan by lining it with parchment paper, leaving a bit of overhang on the longer sides. Lightly grease the parchment with cooking spray and set aside.
- Cut the butter into 4 pieces, saving the wrappers. Melt the butter in a large Dutch oven over medium heat, then lower the heat to medium-low. Cook while stirring until amber-brown bits form at the bottom, then remove from heat, letting the butter brown slightly off the heat for 30 seconds to 1 minute.
- Whisk the vanilla and salt into the browned butter, then add two bags of marshmallows. Heat over low, stirring continuously until completely melted. Remove from heat once melted, avoiding overcooking which can make the bars hard.
- Add the Rice Krispies to the melted mixture and stir with a greased spatula until the cereal is well coated. Gently fold in the remaining bag of marshmallows until just incorporated, ensuring some marshmallows remain intact for gooey pockets in the treats.
- Transfer the mixture to the prepared baking pan, using the buttery side of the butter wrappers to press it down evenly without compacting it too much, which can lead to denser bars.
- Allow the treats to cool at room temperature for about 1 hour before lifting them out of the pan using the parchment overhang. Place on a cutting board and cut into squares.
Last Step:
Please leave a rating and comment letting us know how you liked this recipe! This helps our business to thrive and continue providing free, high-quality recipes for you.Notes
Ensure the marshmallows are fresh for the best results.
For an extra depth of flavor, be mindful of the browning stage of the butter; pulling it off the heat promptly prevents burning.
Store leftovers in an airtight container at room temperature to maintain freshness.
- Prep Time: 5 minutes
- Cook Time: 80 minutes
- Category: Dessert
- Method: Stovetop
- Cuisine: American
Nutrition
- Serving Size: 1 square
- Calories: 190
- Sugar: 17g
- Sodium: 150mg
- Fat: 7g
- Saturated Fat: 4g
- Unsaturated Fat: 3g
- Trans Fat: 0g
- Carbohydrates: 29g
- Fiber: 0g
- Protein: 1g
- Cholesterol: 15mg